
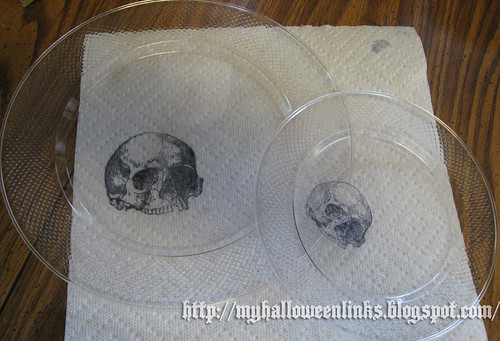
 You'll be seeing this skull image quite a lot in the weeks to come. I had to order replacements because the first pair was lost in the move, so I'm determined to make them earn their keep. (I think I'll add a tag for every entry using the images.) On Sunday, I tried out a theory, stamping the back of some clear plastic plates. It ended up being a little tedious, but I like the effect, so I'm going to do up a bunch for my birthday party. Following are the steps I followed:
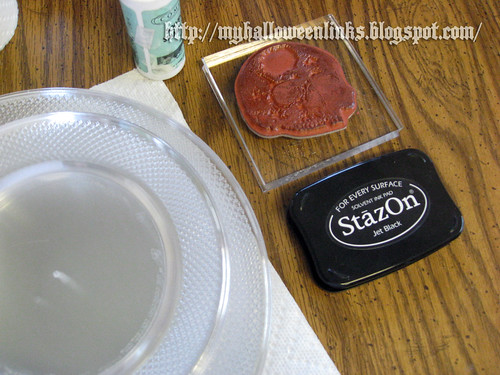 First, gather your materials:
Clear plastic plates (available at local grocery & food service stores). These are essential, because there is no food-safe ink that I'm aware of, so we must stamp on the reverse side. (The images will be flipped.)
Rubber stamp(s). Phrase stamps won't work because of the way we're stamping, but most image stamps should work fine. I'm using two skulls from StampFrancisco: Large and Small. I ordered the "cling cushion" version because I already had some acrylic blocks. They also come mounted on wood blocks (and unmounted).
Solvent ink. I used JetBlack StazOn ink from Tsukineko. This is a great ink, but it's a little smelly, so make sure you use it in a well-ventilated area. It's also pretty permanent once it dries, so this is probably not a project for the little ones. (It stamps great on shrink plastic & CDs, too.) Read any warnings on the packaging and follow. Don't work anywhere near light-colored fabrics.
Solvent ink cleaner. I have no idea where I got mine; I've had it for years. The same company that makes the StazOn ink also makes a cleaner: Tsukineko StazOn All-Purpose Cleaner.
Paper towels
 Don't bother washing the plates before you start. You're going to be touching the surface with your hands a lot and may have some cleaner on the reverse side, so washing afterward is crucial.
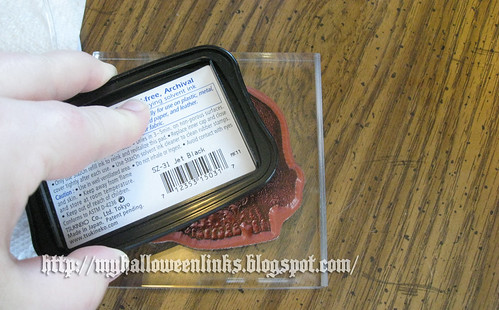
Ink your stamp.
 These steps are a little tricky to convey when one is doing one's own photography. Depending on your stamp size and the detailing, you may be able to stamp the plate on a table or counter. This stamp needed some extra attention, so I held the stamp in my hand, inked side up, and placed the back-side of the plate down onto the inked surface.
We are always stamping the BACK of the plates.
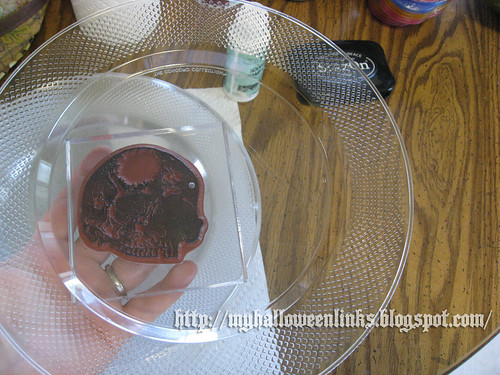
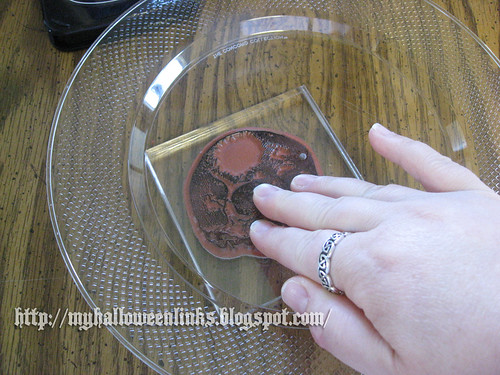 Then, I carefully pressed the plate down onto the inked stamp. (Needed one hand to take the picture! The stamp and plate were held in one hand, while I pressed down with the other.)
Work quickly: this ink dries fast!
Take care not to bounce or twist the stamp.
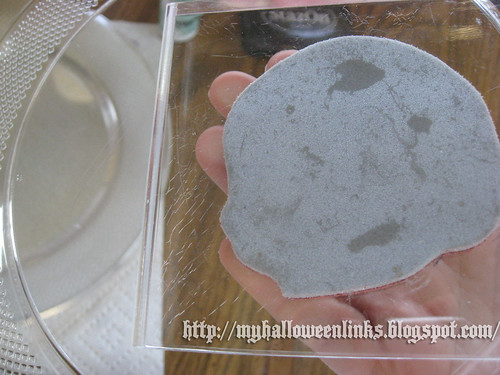 If necessary, flip the plate over and press the stamp down.
Carefully pull the stamp away from the plate. The ink will be completely dry and pretty permanent within a minute or two.
If the image isn't clear, quickly use the solvent cleaner to remove the image and try again. The plates I did took a couple attempts each. (When you're all done, use the cleaner to clean the stamp.)
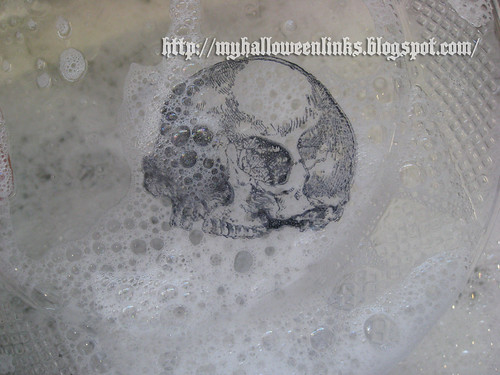 Finally, gently wash the plates in warm, soapy water and rinse.
Bonus: They're reusable! (Probably hand-wash only.)
Disclaimer: Use of tutorials or other information on this blog is done at your own discretion and risk. Please use common sense and good safety practices. I accept no responsibility for other peoples' application of my entries.

No comments:
Post a Comment